Getting started with Ping CLI and PingOne
Connecting Ping CLI to PingOne for interactive sign-on means the CLI runs with the same role permissions as the signed-in user, the same permissions the user has in the PingOne admin console. Environment administrators control who can sign on and can require MFA, so access governance applies equally to the CLI. All actions are audited under the user’s identity.
|
PingOne also supports the device code flow for headless environments, and client credentials for CI/CD pipelines. This guide covers interactive user sign-on using the authorization code flow with PKCE. |
Connect Ping CLI to PingOne in three steps: create an application in the PingOne admin console, configure Ping CLI with its credentials, and authenticate.
Before you begin
-
Ping CLI installed and available on your PATH. Refer to Getting started.
-
A licensed or trial PingOne cloud subscription. Try Ping Identity here
-
Administrator access to the PingOne admin console
Step 1: Create a PingOne worker application
Before configuring Ping CLI, create an application in the PingOne admin console. The application type depends on which authentication flow you intend to use.
-
Sign on to your PingOne admin console.
-
Open an environment that contains admin users, typically the Administrators environment. Note that any environment can be used, but using the Administrators environment is recommended for management operations.
-
Navigate to the Applications link.
-
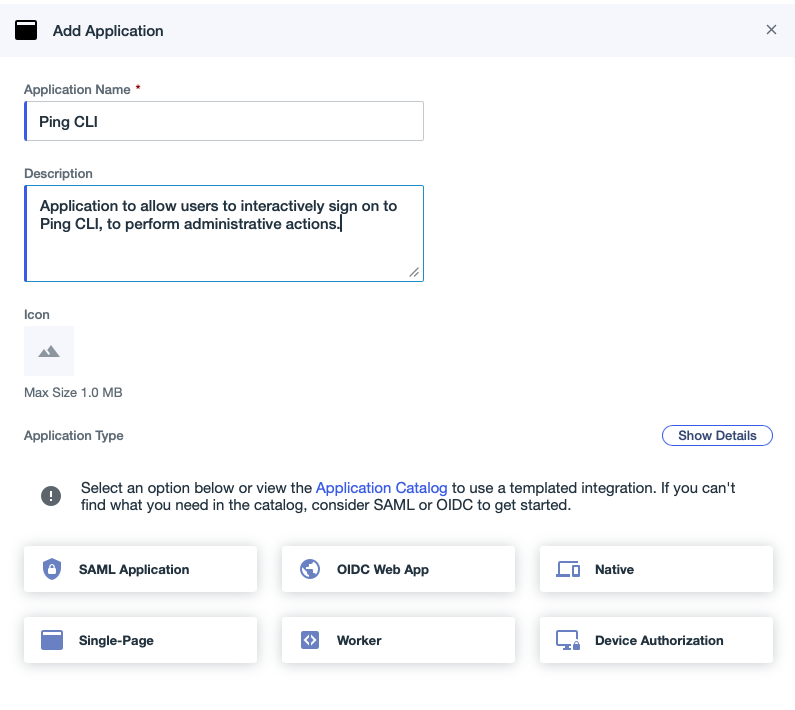
Add a new Application with the icon.
-
For Application Name and Description, enter a unique identifier for the application and a brief characterization of the application.
Expand Screenshot
-
Select Worker as the application type and click Save.
Result: The worker application is created, and the Roles tab displays.
-
No roles should be granted to the application when CLI users log in interactively. When the user signs on to the Ping CLI using the created worker app, the CLI inherits the user’s assigned roles instead of roles assigned to the application.
-
On the Configuration tab, click the edit icon to change the application’s settings.
-
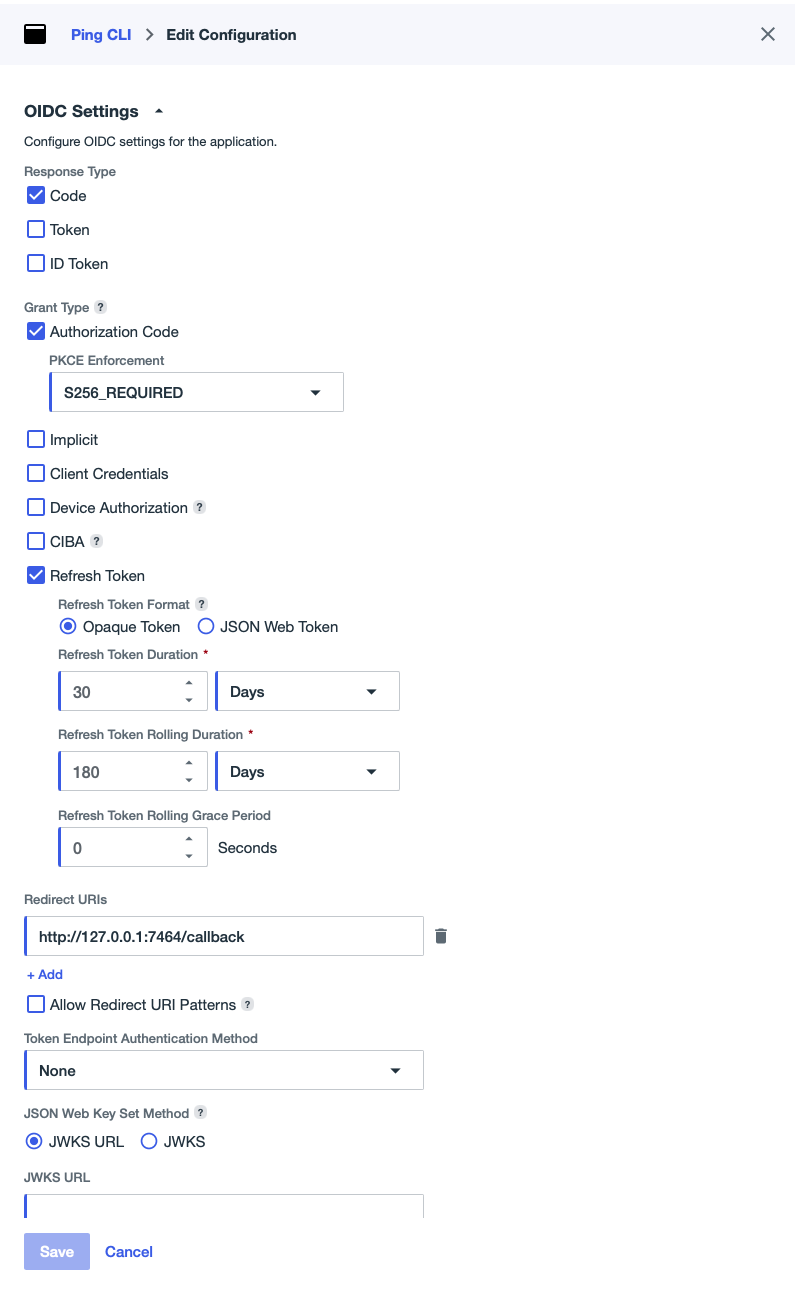
To allow users to sign on using the authorization code method:
-
Set Response Type to Code.
-
Set Grant Type to Authorization Code and Refresh Token (deselecting all others)
-
For PKCE Enforcement, select S256_REQUIRED
-
Refresh Token Duration, Refresh Token Rolling Duration and Refresh Token Rolling Grace Period can be left with default values, but can be changed as required.
-
Add
http://127.0.0.1:7464/callbackto Redirect URIs -
Set Token Endpoint Authentication Method to None
Expand Screenshot
-
-
Click the toggle to enable the application.
Expand Screenshot

-
On the Overview tab, take note of the Client ID because it’s needed when configuring Ping CLI.
Step 2: Configure Ping CLI
The following steps configure Ping CLI to use the configured worker application in a new profile.
Create a new CLI profile
Run the following command to create a new configuration profile within the CLI. For the profile name and profile description, enter a unique identifier for the profile and a brief characterization of the profile.
pingcli config profiles addNew profile name: getting-started
New profile description: : A profile to use while getting started with Ping CLI
Set new profile as active: : yGuided initialization
Ping CLI includes a guided experience for connecting the PingOne platform.
-
Initialize the CLI for PingOne with the guided experience.
pingcli pingone init -
Use the arrow keys to select the Authorization Code option.
PingOne Authentication Setup ============================ This will guide you through setting up authentication for PingOne. Select the OAuth grant type Use the arrow keys to navigate: ↓ ↑ → ← ? Authentication Method: Client Credentials (recommended for automation) ▸ Authorization Code (browser-based) Device Code (device flow) -
When prompted, use arrow keys to select the root domain of the PingOne tenant (for example,
pingone.com). -
When prompted, copy and paste the environment ID for the worker application that was created earlier.
-
When prompted, copy and paste the client ID for the worker application that was created earlier.
-
Complete the guided initialization process.
✔ PingOne authentication configured successfully!
Run 'pingcli pingone auth login' to authenticate.
Sign on
After initialization completes, sign on to the PingOne tenant.
pingcli pingone auth loginA browser window opens, allowing you to sign on to the PingOne tenant as an administrator, as usual.
After signing on, the browser window and Ping CLI confirm the successful sign on.
Expand Screenshot
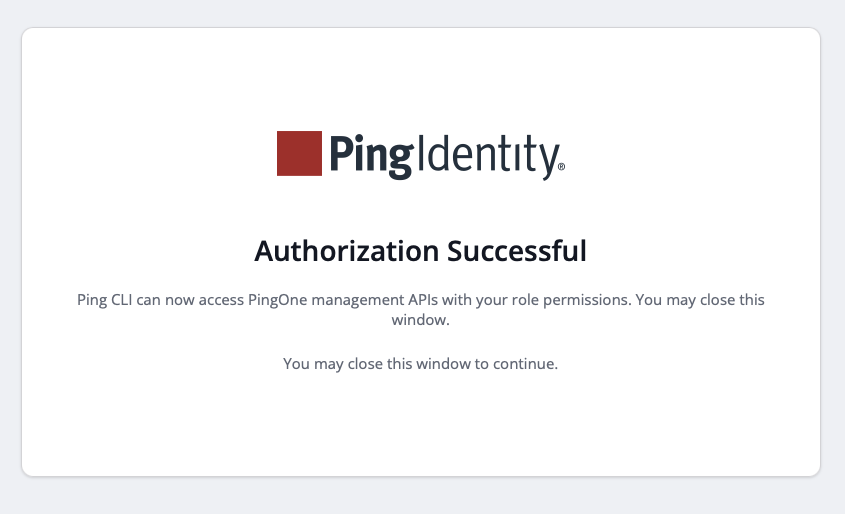
✔ Successfully authenticated with authorization codePing CLI is now configured with the PingOne service. Try a command to view tenant configuration:
pingcli pingone environments list✔ Fetched 29 items
ID NAME DISPLAY NAME DESCRIPTION
9457b794-836e-493c-ade4-3a50c6cf877f Administrators Administrators (PRODUCTION) This is the administrator environmen...
...