Configuring logging on iOS
PingOne Advanced Identity Cloud PingAM iOS
When you develop applications with the Orchestration SDK, you might need to understand its internal workings or troubleshoot unexpected behavior.
Use logging to gain crucial insights into your application’s operations, identify issues, verify expected functionality, and better understand authentication flows.
This section covers how to configure and customize the logging output from the Orchestration SDK for iOS.
Configuring iOS logging
To configure the logging output from the Orchestration SDK for iOS, specify the logger to use in the client module configuration:
import PingLogger

let journey = Journey.createJourney { config in
  config.logger = LogManager.standard
  config.serverUrl = "https://openam-forgerock-sdks.forgeblocks.com/am"
  config.realm = "alpha"
  config.cookie = "ch15fefc5407912"
}
The Orchestration SDK for iOS includes the following logger presets:
| Logger preset | Description |
|---|---|
|
Outputs all log messages to the console. |
|
Outputs only warning and error log messages to the console. |
|
Prevents all log messages. |
|
The 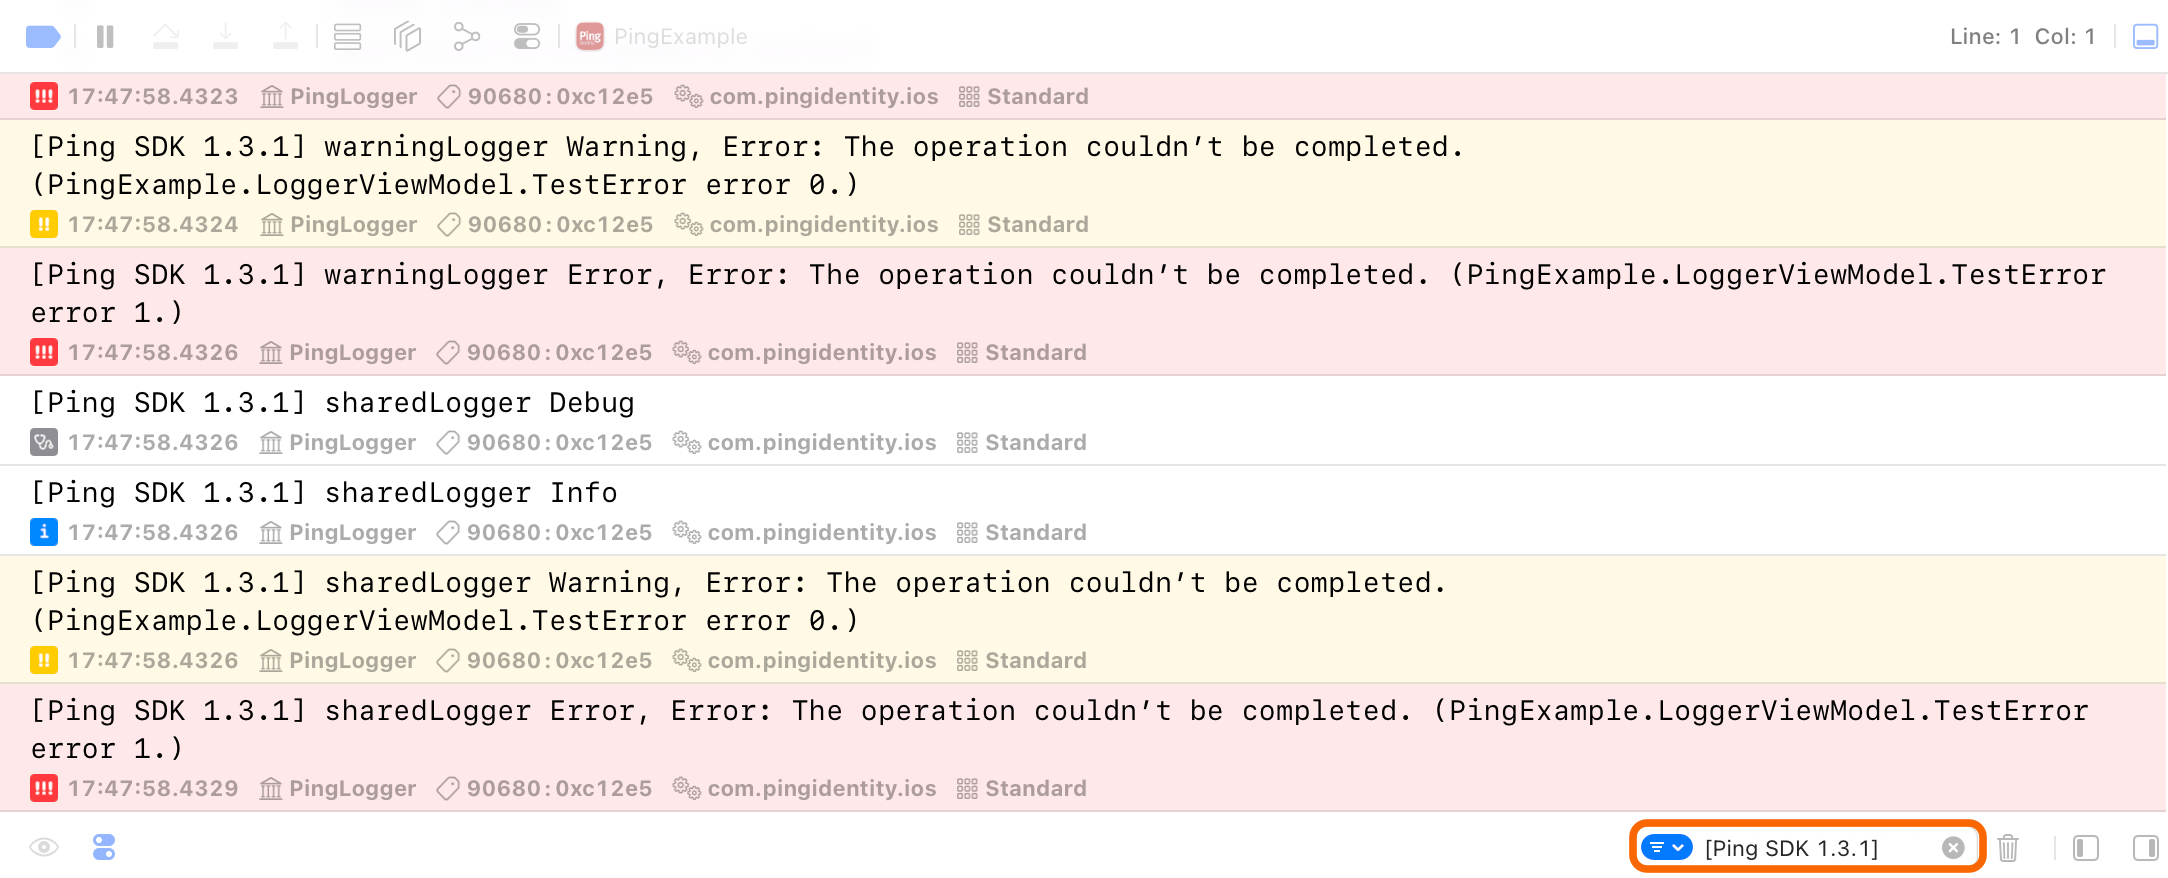
Figure 1. Filtering console output by tag
|
Defining and using custom loggers
In addition to the preset loggers you can create your own loggers. For example, you could output Orchestration SDK for Android messages to a file or a third-party service, or filter which messages to display.
Step 1. Installing modules
To create custom loggers, you need to add the Logger module for iOS as a dependency to your project.
You can use Swift Package Manager (SPM) or Cocoapods to add the dependencies to your iOS project.
Add dependencies using SPM (Swift Package Manager)
You can install this by using SPM (Swift Package Manager) on the generated iOS project.
-
In Xcode,in the Project Navigator, right-click your project, and then click Add Package Dependencies….
-
In the Search or Enter Package URL field, enter the URL of the repo containing the DaVinci module for iOS,
https://github.com/ForgeRock/ping-ios-sdk.git. -
In Add to Project, select the name of your project, and then click Add Package.
Xcode shows a dialog containing the libraries available in the Orchestration SDK for iOS.
-
Select the
PingLoggerlibrary, and in the Add to Target column select the name of your project. -
Repeat the previous step for any other Orchestration SDK libraries you want to add to your project.
-
Click Add Package.
Xcode displays the chosen libraries and any prerequisites they might have in the Package Dependencies pane of the Project Navigator:
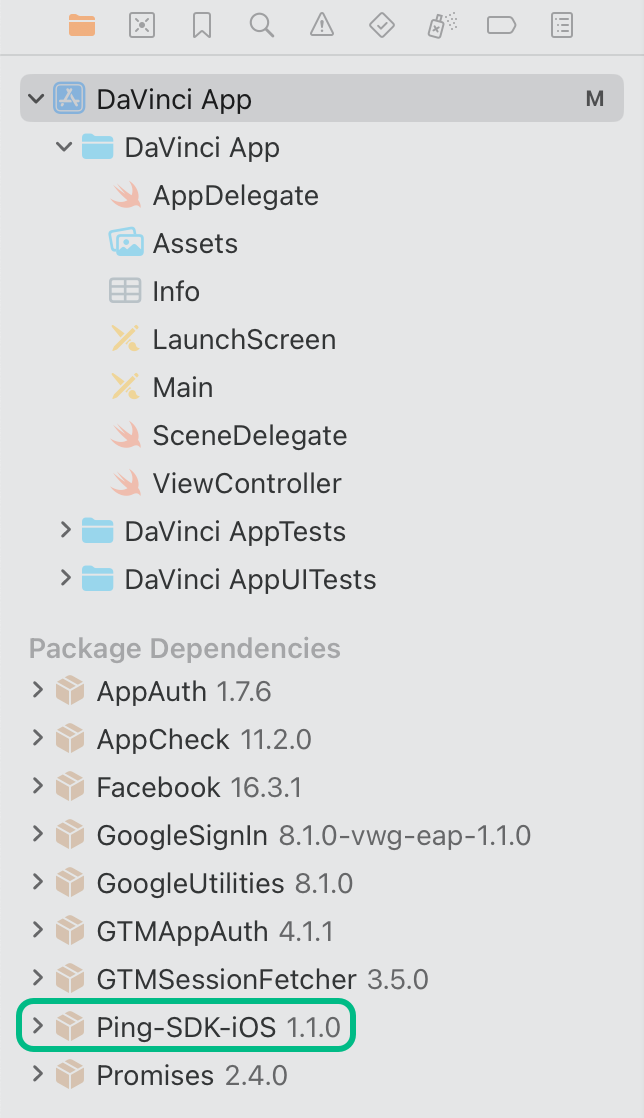 Figure 2. Package dependencies in the Xcode package navigator pane.
Add dependencies using CocoaPods
-
If you do not already have CocoaPods, install the latest version.
-
If you do not already have a Podfile, in a terminal window, run the following command to create a new Podfile:
pod init
-
Add the following lines to your Podfile:
pod 'PingLogger'
-
Run the following command to install pods:
pod install
Step 2. Defining and using custom loggers
To create a custom logger, first define a class and override each of the logger methods with the new behavior.
For example, the following code creates a custom logger named warningErrorOnly, that only outputs warning and error messages, and ignores both info and debug messages:
import PingLogger

struct WarningErrorOnlyLogger: Logger {

  func i(_ message: String) {
  }

  func d(_ message: String) {
  }

  func w(_ message: String, error: Error?) {
    if let error = error {
      print("\(message): \(error)")
    } else {
      print(message)
    }
  }

  func e(_ message: String, error: Error?) {
    if let error = error {
      print("\(message): \(error)")
    } else {
      print(message)
    }
  }
}

extension LogManager {
  static var warningErrorOnly: Logger {
    return WarningErrorOnlyLogger()
  }
}
To use the custom logger in your app, specify the logger’s name, just as with the preset loggers:
let journey = Journey.createJourney { config in
  config.logger = warningErrorOnly
  config.serverUrl = "https://openam-forgerock-sdks.forgeblocks.com/am"
  config.realm = "alpha"
  config.cookie = "ch15fefc5407912"
}