Try it out
Connect the DaVinci MCP Server to your MCP client.
Prerequisites
Before you start, make sure you have:
-
A licensed or trial PingOne subscription
-
DaVinci enabled in your environment: in the PingOne admin console, go to Environments > Your Environment > Services and ensure DaVinci is listed and active.
-
An MCP-compatible client, such as:
-
CLIs: Claude Code, Gemini CLI
-
Desktop apps: Claude Desktop
Setup
1. Create a PingOne worker application
The DaVinci MCP Server requires a worker application to authenticate with the PingOne APIs.
-
In the PingOne admin console, select the environment where DaVinci is enabled.
-
Click Applications > Applications in the left navigation menu.
-
Click + Add Application and select Worker.
-
Enter the following:
-
Name: For example,
DaVinci MCP Server. -
Description: Optional.
-
-
Click Save.
-
Enable the application using the toggle at the top right of the details panel.
-
-
On the Configuration tab, click the Edit icon and set:
-
Grant Types:
Authorization Code -
Response Type:
Code -
PKCE Enforcement:
S256_REQUIRED -
Redirect URIs:
http://127.0.0.1:7474/callback -
Token Endpoint Authentication Method:
None(Public Client)
-
-
Click Save.
-
Copy the Client ID from the Configuration tab.
You’ll need this for AUTHORIZATION_CODE_CLIENT_ID. This identifies the PingOne worker application your MCP client uses during OAuth authentication. -
Copy the Environment ID from the URL or environment settings.
You’ll need this for DAVINCI_MCP_ENVIRONMENT_ID. This is the UUID of the target PingOne environment that contains the DaVinci resources the server should access.
2. Assign a role to the authenticating user
-
In the PingOne admin console, click Directory > Users.
-
Create a new user or select an existing one.
-
Navigate to the user’s Roles tab and click Grant Roles.
-
Search for and select DaVinci Admin Read Only. Click Save.
3. Configure environment variables
The server reads the following environment variables. You can set these in your MCP client configuration:
| Variable | Description | Example |
|---|---|---|
|
The UUID of the PingOne environment that contains your DaVinci resources. The server uses this to target API requests to the correct environment. |
|
|
The client ID of your PingOne worker application. |
|
|
The regional PingOne domain. Refer to Regional and custom domain support. |
|
|
(Optional) Your custom PingOne domain. Refer to Regional and custom domain support. |
|
Install
Quick install
Use the one-click install links for the fastest setup:
When prompted for an environment ID, enter the target PingOne environment UUID, not your worker application client ID.
|
Before clicking the install button, open VS Code with a project or working directory. When the MCP server panel opens, click Install in Workspace. The Install button may be unresponsive. 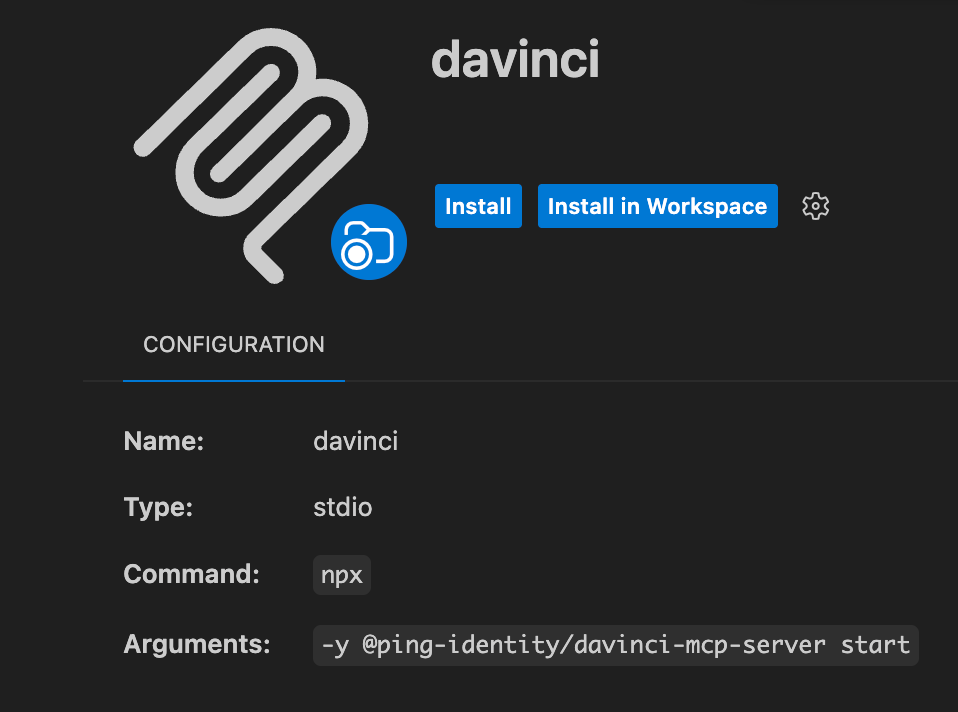
|

Manual install (NPX)
Add the following to your MCP client configuration, replacing the placeholder values with your actual credentials.
Set DAVINCI_MCP_ENVIRONMENT_ID to the UUID of the PingOne environment you want the server to query:
{
  "mcpServers": {
    "davinci": {
      "command": "npx",
      "args": ["-y", "@ping-identity/davinci-mcp-server", "start"],
      "env": {
        "DAVINCI_MCP_ENVIRONMENT_ID": "your-environment-id",
        "AUTHORIZATION_CODE_CLIENT_ID": "your-client-id",
        "ROOT_DOMAIN": "pingone.com"
      }
    }
  }
}
For client-specific configuration formats, CLI flags, and advanced examples, refer to Client configuration.
Start using the DaVinci MCP Server
-
Restart your MCP client after adding the configuration.
-
Run a read tool such as
list_flows,list_applications, orlist_connectorsto trigger authentication. Your browser opens automatically. -
Log in with the PingOne user you assigned the DaVinci Admin Read Only role.
-
After authenticating, your MCP client can interact with your DaVinci environment.
Try prompts like:
-
"List all DaVinci flows in my environment"
-
"Show me the details of the Login flow"
-
"What connectors are available?"
-
"List all DaVinci applications"