Rapidly Deploying PingGateway with PingOne Advanced Identity Cloud (P1AIC)
A step-by-step guide to rapidly deploying PingGateway in standalone mode and integrating it with PingOne Advanced Identity Cloud using CDSSO.
This post was originally published on Medium.
Note: This blog applies to PingGateway versions from 2025 onwards. For earlier PingGateway (IG) releases, please refer to the original blog here.
Introduction
Integrating applications securely and efficiently with PingOne Advanced Identity Cloud (P1AIC) is a common requirement for developers and architects exploring modern identity platforms.
This article demonstrates how to deploy PingGateway in standalone mode and protect a sample application using Cross-Domain Single Sign-On (CDSSO) with P1AIC — all via a single automation script.
The objective is straightforward:
Enable new users to quickly stand up PingGateway, integrate it with P1AIC, and understand how CDSSO protection works end-to-end.
This deployment is designed for:
- Learning and enablement
- Proof-of-concept environments
- Developer experimentation
- Workshops and demonstrations
It is not intended as production use.
The repository containing all assets and the deployment script is located here on GitHub.
To get straight to deploying go here.
Scenario
“As a new customer, I want to understand PingGateway through hands-on experimentation — specifically how to configure it to protect an application via CDSSO with P1AIC.”
This blog walks through that exact scenario.
What the Script Deploys
The repository includes:
install_ping_gateway_P1AIC.sh— automation scriptadmin.json.HTTPSadmin.json.HTTP_ONLYstatic-resources.jsoncdsso-idc.json
When executed, the script provisions:
-
A PingGateway standalone instance
-
A Sample Application
-
Route configurations that:
- Reverse proxy static resources
- Protects
/home/cdssovia CDSSO with P1AIC
All components are deployed on the same host for simplicity.
Architecture Overview
PingGateway runs in Standalone Mode, meaning:
- It does not require deployment into a servlet container.
- It runs directly from the extracted ZIP.
- It uses Vert.x internally to provide its runtime engine.
The result is a lightweight, fast-starting gateway instance suitable for development and experimentation.
The end-to-end flow looks like this:
- User accesses protected resource via PingGateway.
- PingGateway checks for a valid OIDC token.
- If no valid token is present, the browser is redirected to P1AIC.
- User authenticates with P1AIC.
- P1AIC redirects back to PingGateway.
- PingGateway validates the token and grants access to the sample application.
This demonstrates CDSSO in action, and described in more details below:

To learn more about CDSSO check out this link
Script Execution
Step 1 — Download Assets aond Configure Networking
-
Download the ZIP from GitHub here.
-
Down the PingGateway Standalone ZIP and PingGateway Sample Application JAR from here and place both files in the same directory as the script.
-
By default PingGateway will be deployed against this host
pinggateway.test.comand the Sample app tosample.test.com. Add both to your/etc/hostsfile. For example for IP 172.168.1.10 the hosts entry will look like this:172.168.1.10 pinggateway.test.com sample.test.com
Step 2 — Configure the Script
- Modify lines 11–30 in the
install_ping_gateway_P1AIC.shscript to match your environment
Step 3 — Configure P1AIC
Create a Test User
- Log in to P1AIC.
- Select the appropriate realm.
- Navigate to Identities → Manage.
- Create a new user.
Create a Gateway Agent
-
Navigate to Gateways and Agents.
-
Click New Gateway/Agent.
-
Select Identity Gateway.
-
Enter the following and hit Save:
- Agent ID (e.g.
pinggateway_agent_cdsso) - Password
- Agent ID (e.g.
Ensure these values match the script configuration:
AGENT_IDAGENT_SECRET
Configure Redirect URIs
HTTPS:
https://pinggateway.test.com:9443/home/cdsso/redirect
HTTP:
http://pinggateway.test.com:9000/home/cdsso/redirect
Step 4 — Execute the Script
For P1AIC deployments, use HTTPS mode due to SameSite cookie requirements:
- Run:
./install_ping_gateway_P1AIC.sh https - For standalone PingAM deployments run
./install_ping_gateway_P1AIC.sh http
Step 5 — Validate Deployment
After deployment, access:
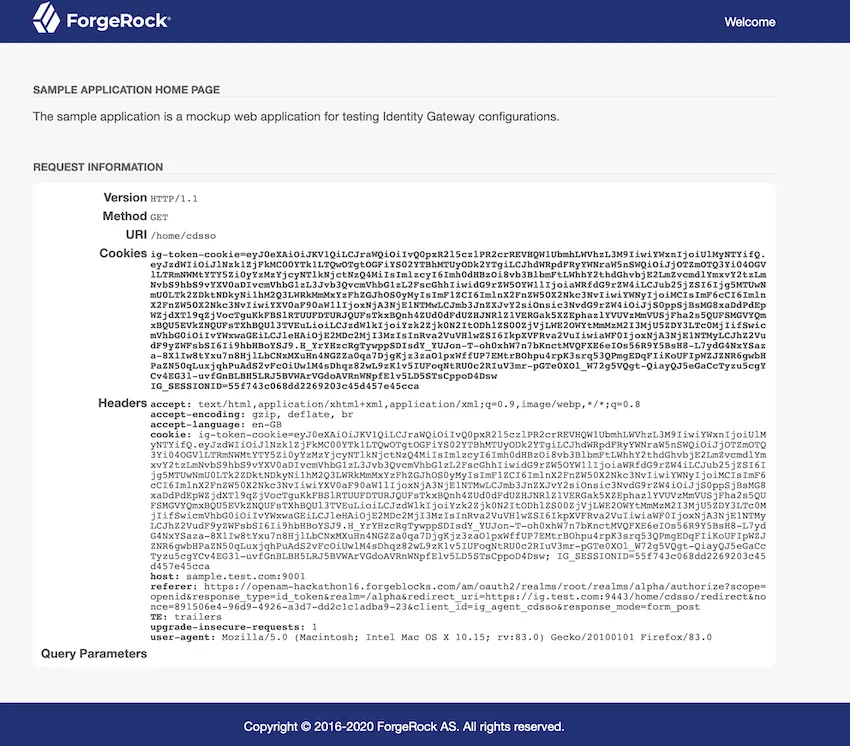
https://pinggateway.test.com:9443/home/cdsso.
You should be redirected to P1AIC for authentication. Upon successful login, the Sample Application page will be displayed.
Note: If you were already logged into P1AIC during setup, log out first or use a private browser window to prevent cookie conflicts.
Step 6— Stop/Start the
To stop/start PingGateway and the Sample App use:
- Stop Services:
./install_ping_gateway_P1AIC.sh stop - Start Services:
./install_ping_gateway_P1AIC.sh start
Script Breakdown
The script performs the following high-level steps.
1. Environment Validation
The script validates:
- PingGateway ZIP is present
- Sample Application JAR is present
- Required commands are available (
unzip,curl, etc.) - The host can connect to the configured P1AIC endpoint
Execution stops if validation fails.
2. Clean Installation Handling
If a previous installation exists:
- PingGateway is stopped
- The sample application is stopped
- The installation directory is removed
This ensures clean redeployment.
3. PingGateway Deployment
The script:
- Extracts the PingGateway ZIP
- Performs a temporary start/stop cycle to initialise directories
- Creates required configuration folders
PingGateway is deployed in Production Mode by default.
4. Script Execution Mode
The script supports:
- https mode (recommended for P1AIC)
- http mode (for standalone PingAM deployments)
When HTTPS mode is selected, a self-signed certificate is generated automatically.
Note — Self-signed certificates are for demonstration only and should not be used in production.
5. Sample Application Deployment
The sample application is deployed locally and started on the configured ports, providing a target application for PingGateway to protect.
6. Route Configuration
Two routes are created:
static-resources.json— Allows PingGateway to proxy static resources (e.g., CSS) without authentication. This improves performance and mirrors real-world deployment patterns.cdsso-idc.json— Protects the /home/cdsso context. It checks for a valid OIDC id_token, redirects unauthenticated users to P1AIC, validates tokens on return and grants access upon successful validation
Conclusion
This script provides a fast, repeatable way to deploy PingGateway locally and integrate it with PingOne Advanced Identity Cloud using CDSSO — all within minutes. It enables you to:
- Deploy PingGateway in standalone mode
- Understand how standalone runtime operates
- Explore CDSSO behaviour with P1AIC
- Observe complete end-to-end authentication flows
By simplifying setup and automating the foundational configuration, this approach accelerates learning and removes friction from experimentation. It serves as an ideal starting point for:
- Developers building familiarity with PingGateway
- Architects validating integration patterns
- Technical enablement sessions and workshops
Most importantly, it provides a clear, structured baseline from which you can extend into more advanced routing logic, security hardening, certificate management, and production-ready deployment patterns.
In short, this script turns what could be a multi-step manual configuration process into a streamlined, educational experience — helping you move from exploration to implementation with confidence.
Further Reading
- CDSSO Documentation — https://docs.pingidentity.com/pinggateway/latest/aic/cdsso.html
- PingGateway Documentation — https://docs.pingidentity.com/pinggateway/latest/
